Gothic Ballerina Tutu Cookie Tutorial
Cookie Tutorial by Becky Rink
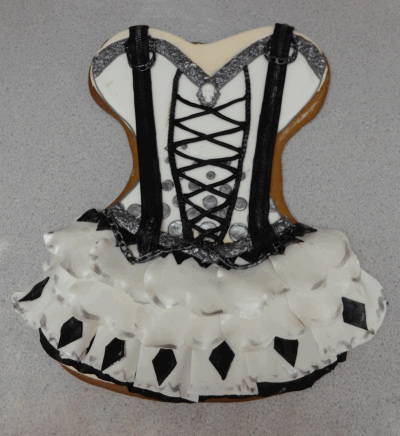
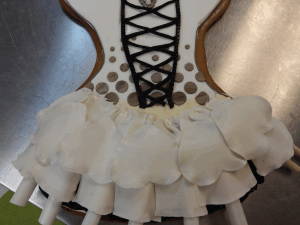
This Gothic ballerina tutu cookie is sure to please any girl on her birthday. Here are detailed instructions for recreating this masterpiece yourself.
Tools and Supplies:
- Floral Border Mold
- Skull Cameo Mold
- Zipper and Pull Mold
- Medium Chain Mold
- Small Chain Mold
- Sparkling Bubbles Silicone Onlay®
- Diamonds Silicone Onlay®
- Baking sheet
- Parchment paper
- Gingerbread dough
- Fondant (white, black)
- Tylose powder
- pearl and silver luster dust
- lemon extract
- paint brush
- rolling pin
- royal icing
- pastry bag fitted with coupler and small round tip
- gum paste
- shortening
- cornstarch
- gum glue
- ball tool
- medium sized heart cutter
- exacto blade
Instructions
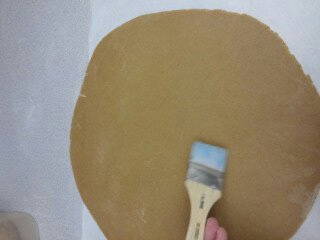
1. Begin by rolling out your dough to 1/4″ thickness. For 3D pieces, roll slightly thicker. Brush off excess flour.
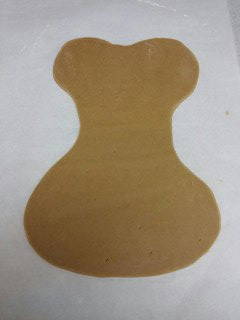
2. Place rolled dough on parchment paper. Cut out desired shape.
3. Bake gingerbread at approximately 350 degrees Fahrenheit for 15 – 20 minutes, depending on the thickness. Flip the piece over and bake an additional 5 – 10 minutes to ensure that the ballerina tutu cookie is fully baked.
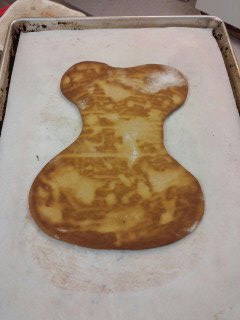
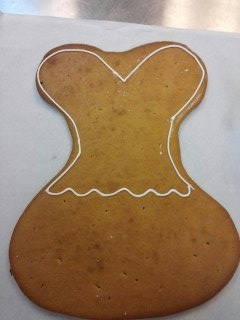
4. Make royal icing and with medium consistency outline the top portion of your cookie. You can also cover this with fondant.
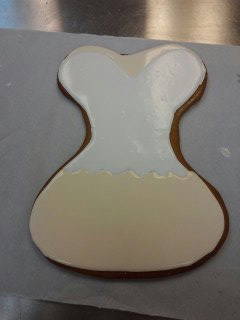
5. Flood outlined portion with flooding icing (royal icing thinned down). Omit this step if you covered this section with fondant. Do the same for the bottom. Omit if covered in fondant.
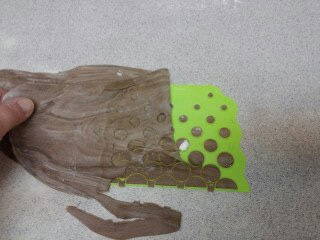
6. Roll out your 50/50 gum paste/fondant mix to 2nd thinnest setting on the pasta machine and press into Sparkling Bubble Silicone Onlay®. Roll gently with rolling pin and then spread lightly with water or gum glue.
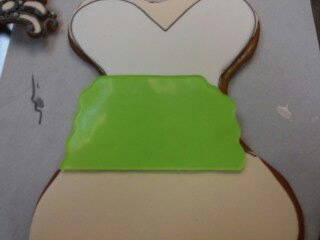
7. Lay Sparkling Bubbles Silicone Onlay® across the dried royal icing or fondant and press to secure dots. Begin peeling off the Silicone Onlay®.
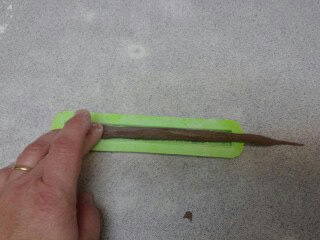
8. Using the Floral Border Mold, press in a thick snake of 50/50 gum paste/fondant and press it into the mold. Carefully press against the cutting blades to clean the edges. Pulls sides of mold away and then remove fondant.
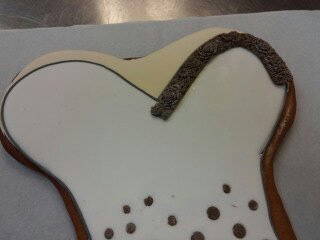
9. Spritz back of fondant floral border with water or brush with corn syrup and apply the fondant to the top of the tutu, following the lines of the icing design. Use 2 molded pieces to complete the top. Trim at the edges if necessary.
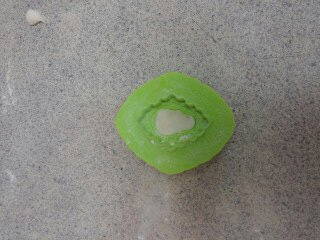
10. Roll a pea sized ball of white fondant and press into the Skull Cameo mold.
11. Take secondary color and place on top, adhering with a little bit of water.
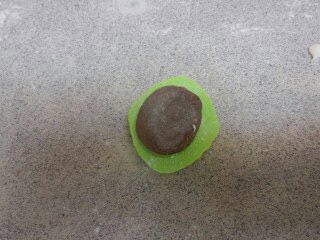
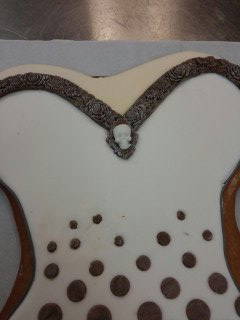
12. Attach skull cameo to the joint of the two floral fondant designs.
13. Roll a small snake of black fondant and press into the Small Chain mold.

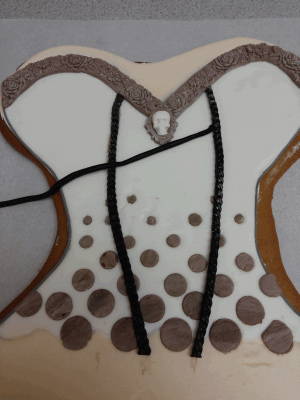
14. Attach two small chain decorations to form bodice, then using rolled black fondant, crisscross through bodice to create lacing.
15. Roll out black fondant into a piece that is 4″ long by 3″ wide.
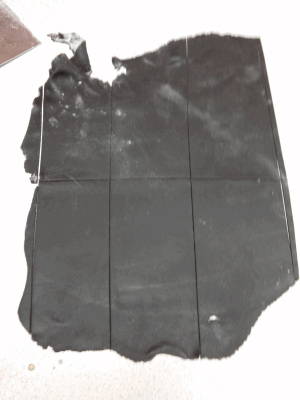
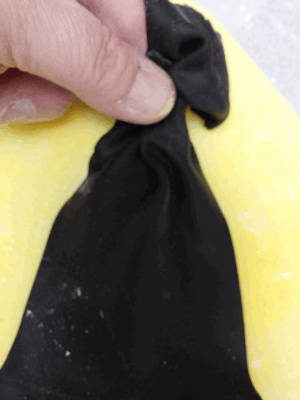
16. Frill one end using a ball tool and then gather the other end and pinch off excess.
17. Attach prepared pieces to cookie using icing or dab of water.
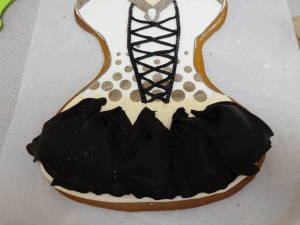
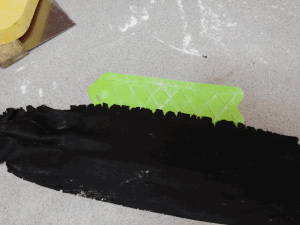
18. Roll out fondant to 2nd thinnest setting on pasta machine. Press the fondant on to the Diamonds Silicone Onlay®, then remove individual pieces and set aside.
19. Roll out seven pieces of white gum paste/fondant and frill one end with ball tool, then gather the other end and lay over the black ruffles, allowing some black to show.
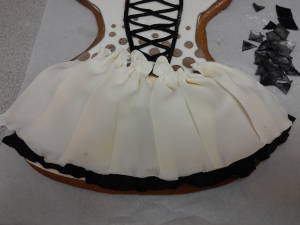
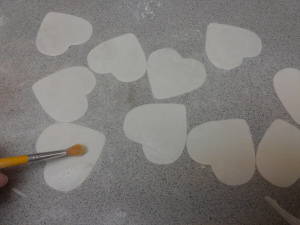
20. Cut out medium shaped hearts (or size to fit) , the dust with pearl dust then silver dust. Frill non-pointy side.
21. Finish top of heart petals with diamonds you cut previously. Add two floral borders to the top of the diamonds. Paint the floral borders, circles, and any other details you’d like to be silver.
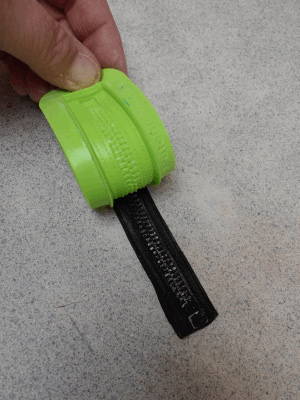
22. Press a rope of fondant into the zipper mold and attach to the bodice of the tutu. Add second zipper to opposite side of bodice. Add the zipper pull to the bottom of each zipper.
23. Roll a thin rope of fondant and press it into the Medium Chain mold. Rub finger over the top of the mold to release cut-outs. Remove from mold and paint silver. Apply chains as you like to cookie.


Becky Rink, former owner of About the Cake, is an award winning decorator and author of “The Top Shelf Baker – Sweet Treats From a Well Stocked Bar”. Becky has spent the last 14 years honing her craft and expanding on her skills. She continues to travel to teach sugar arts to new and also experienced decorators.
