Christmas Cake Tutorial
Cake Tutorial by Mark Desgrosseilliers from Morsels by Mark
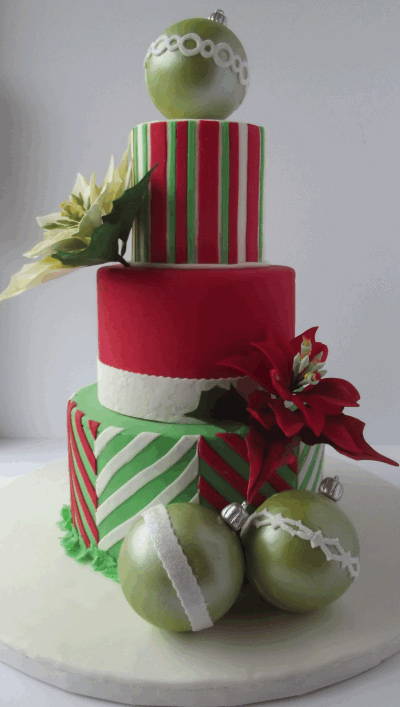
Christmas is my favorite holiday. Every year I try to come up with a different design for our holiday party. I decided to turn this year’s cake into a step by step tutorial. To create this holiday cake, you will need:
Tools and Supplies:
- Crumb-coated cakes – 4 inches tall – 4, 6 and 8 inches in diameter
- Fondant – red, white & kelly green
- Tylose
- Gala Stripes Silicone Onlay®
- Clever Chevron Silicone Onlay®
- Ooh La La Silicone Onlay®
- Double Diamond Silicone Onlay®
- Rolling pin
- Windsor Holly Clikstix
- Cornstarch
- Gum glue
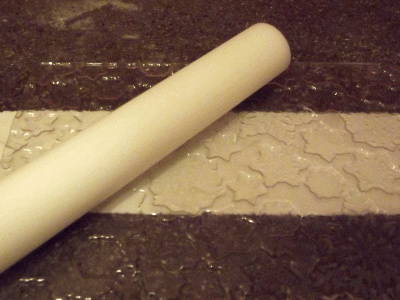
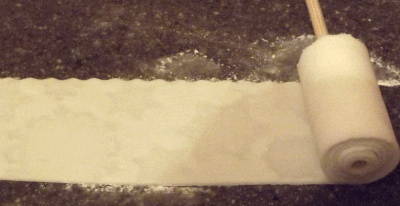
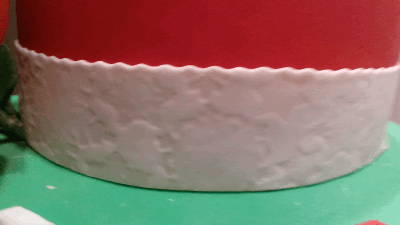
- Snowflake impression mat
- Paintbrushes (morselsbymark.weebly.com)
- Silver or Gold Highlighter
- Candy Melts
- Ornament Chocolate Mold
- Sterling Pearl Dust
- Disco Dust
- Gumpaste Poinsettia (Tutorial available through my website www.morselsbymark.weebly.com/Poinsettia)
- 12″ cake drum covered in fondant
- Confectioner’s glaze spray
Instructions
1. Cover your cakes in desired colored fondant. I did the 4 inch in white, the 6 in red and the 8 was covered in Kelly Green. I suggest keeping your cakes chilled in between steps. Working on an ice cold cake makes applying the onlay patterns a lot easier.
2. Mix some of your left over fondant with tylose powder (I use a ratio of 1 pound fondant to 1 teaspoon tylose). Wrap each in cling film and set aside to relax the paste.
3. Make the chocolate ornaments (there are a number of tutorials available, I used the one by Swank Cake Design) and set aside.
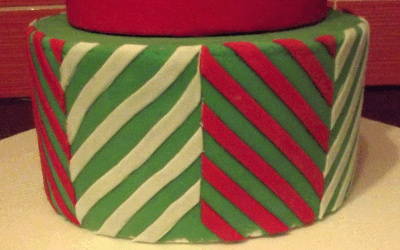
4. To make our bottom tier, roll your sugarpaste out fairly thin ( I go to a 3 on my Kitchen Aid roller attachment). Dust your Clever Chevron Silicone Onlay® and place paste inside. To get the two tone effect, I put red paste on one side, white on the other. Use your rolling pin to ensure the paste is in the mold and the cutting blades are doing their job. Lightly brush the entire back surface of the onlay with gum glue and remove alternating stripes on each side. Apply the onlay to the cake and repeat until the entire bottom tier is covered. Normally I remove my onlay from side to side, but for the onlays used on the cake tiers here, I found peeling them slowly top to bottom gave me better results.
5. To make our top tier look like Candy Cane, roll your sugarpaste thin as in step 4. Apply the red paste to the Gala Stripes Silicone Onlay® and remove all the stripes you do not want to be red. Apply more cornstarch (liberally) to the red paste still in the mold. Lay the green paste over the top and repeat the on lay process. Any green over your red paste should peel away easily and the remaining green will be sitting flush in the mold with the red. Apply gum glue and remove desired green stripes. Apply Silicone Onlay® to chilled tier removing by peeling from top down.

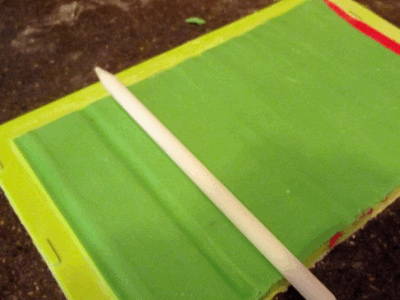
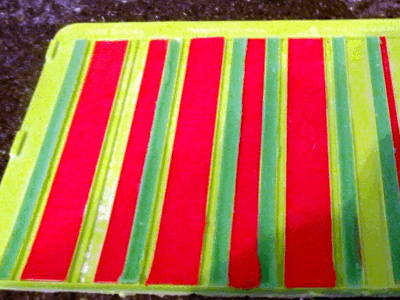
6. Brush ornaments with sterling pearl dust is desired shade and spray with confectioner’s glaze spray to set color. Make an ornament cap with white paste and paint silver. Set aside.
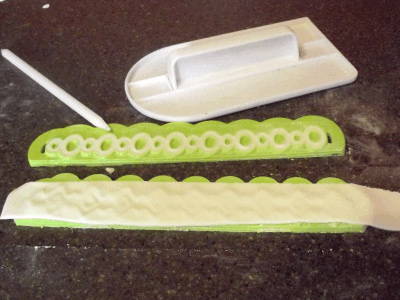
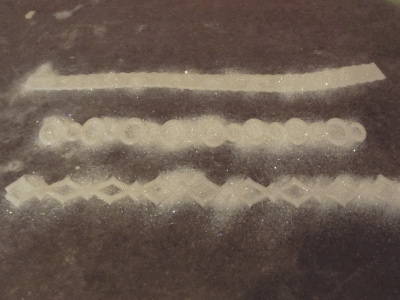
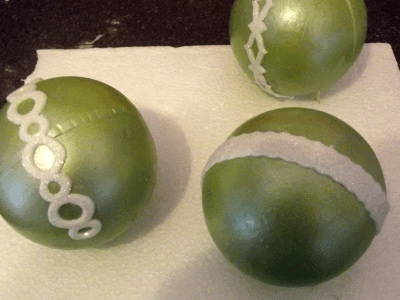
7. Roll Sugarpaste a bit thicker than before (2 on Kitchenaid) and set in Silicone Onlay®; Border molds (I used Double Diamond and Ooh La La). Remove pattern from onlay, brush top with gum glue and cover with disco dust (I used white paste and rainbow disco). Remove excess disco, flip onlay over and apply gum glue. Place on chocolate ornament. Set aside to dry.
8. Stack cakes using your preferred stacking technique. I normally use Poly dowels in each tier with a central wooden dowel straight down the center. Your cake board should be covered as desired (I used white fondant)
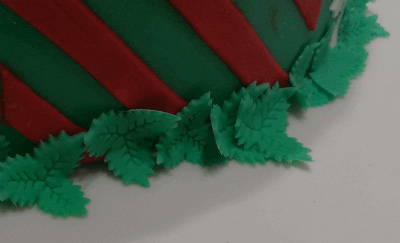
9. Apply border to bottom tier. I wanted to keep with the “deck the halls” theme, so why not use a bough of holly? To make the holly border, I rolled my green paste to a 3 on my kitchen aid and cut it into strips the size of my Windsor Clikstix. I placed the Clikstix on the paste, pressed down on the ejection bar to make my impression, then pressed down on the outer edges to ensure a clean cut. A press of the ejection bar released the holly leaves and I set them in bumpy foam to dry slightly (10 minutes) and then added as a border using gum glue on the back.

10. Apply Super pearl to pearl drops and apply using melted white chocolate to each join of the pearl swags. Use Super Pearl and Silver Pearl to paint the brooches, as desired. Attach feathers and brooch to gap in front of tier with white chocolate.
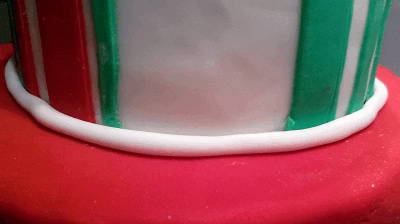
11. Using white paste, roll a thin rope (or use an extruder) and apply to top tier. Now we’re ready to finish the cake off!
12. Melt some white candy melts and adhere ornament caps to ornaments. Determine where and how each ornament will sit, then apply white chocolate (I use a piping bag) at two points of contact (for stability, I place chocolate on the board and the side of the cake where the ornament will touch it). The ornament on top is sitting on a fair amount of melted chocolate (enough to make secure contact without being seen).
13. Add your sugar poinsettia and voila – instant holiday cheer!
This cake was a lot of fun to make. I’d love to see what you all create! Best wishes for a happy holiday season and a “sweet” new year!

This Christmas cake tutorial was created by Mark Desgrosseilliers from Morsels by Mark. Mark is an award-winning Montreal based cake designer who is the administrator for the local chapter of the Canadian Cake Decorator’s Guild. He loves sharing his passion for sugar and teaches internationally. Visit him online at: http://morselsbymark.weebly.com/
