How to Use a Bladed Mold
Learn How To Use Marvelous Molds with This Step by Step Tutorial
Because Marvelous Molds represent true innovation in silicone mold design, learning how to use them properly can go a long way in achieving maximum success and reproductive quality. For this reason, we have created a pictorial, step by step instruction guide that conveys the important things you should know when using our cutting edge silicone molds.
1. Apply a very thin coating of cornstarch to the mold and the fondant or gumpaste side that will be pressed down into the mold.
2. Sheet the fondant or gumpaste to a thickness that will fill the mold cavity to the base of the trimming blade, not to the top of the trimming blade. See diagram on the right.
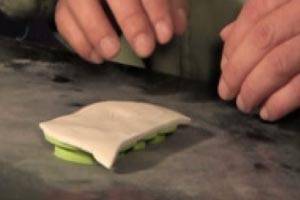
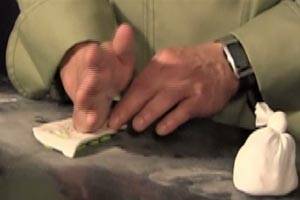
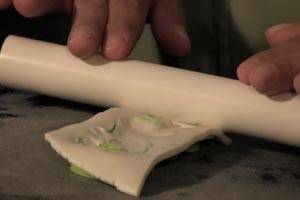
3. Place sheeted fondant/gumpaste on top of mold and press down firmly with the palm of your hand.
4. Using light, quick strokes roll with a small rolling pin until trimming blades cut through the fondant/gumpaste completely. Press fondant/gumpaste once again into the mold cavity to ensure a detailed impression is made.
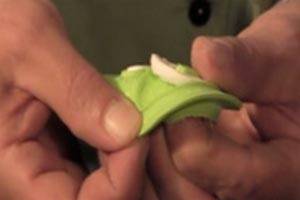
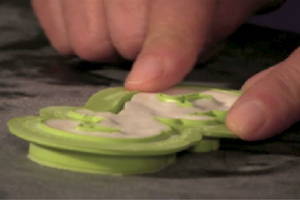
5. Remove trimmed outer portion of fondant/gumpaste and then place finger on outside of the trimming blade and press the blade inward and down into the cavity. This step will finish the edge of the fondant/gumpaste perfectly
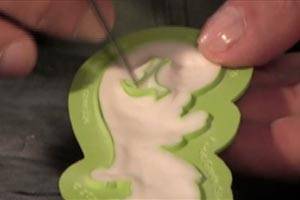
6. If your mold has “windows,” use a needle tool to remove any fondant or gumpaste that rests in the window cavity. To finish the edge of this opening, press the window trimming blade outward and down into the cavity in order to finish the inner edges of the “windows” in the design.
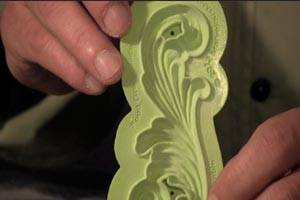
7. To unmold, pull the mold lip outward and down while pushing the bottom edge of the mold upward. Keep performing this action around the mold in order to release your fondant or gumpaste from the cavity surface.