Scroll Mold Christmas Tree Tutorial
Tutorial by Violet Lin Tran - The Violet Cake Shop™
You’ve made your holiday cake, but something’s just not quite there yet. You need a little something to spruce it up and add a bit more flair! We’ve got the perfect thing – check out this cute Christmas Tree decoration, perfect for a cake topper or place setting decorations! Violet Lin Tran’s tutorial will help you make a Scroll Mold Christmas tree of your own.
Tools and Supplies:
- Left Prime Swirl Scroll Mold
- Right Prime Swirl Scroll Mold
- Left Essential Flourish Scroll Mold
- Right Essential Flourish Scroll Mold
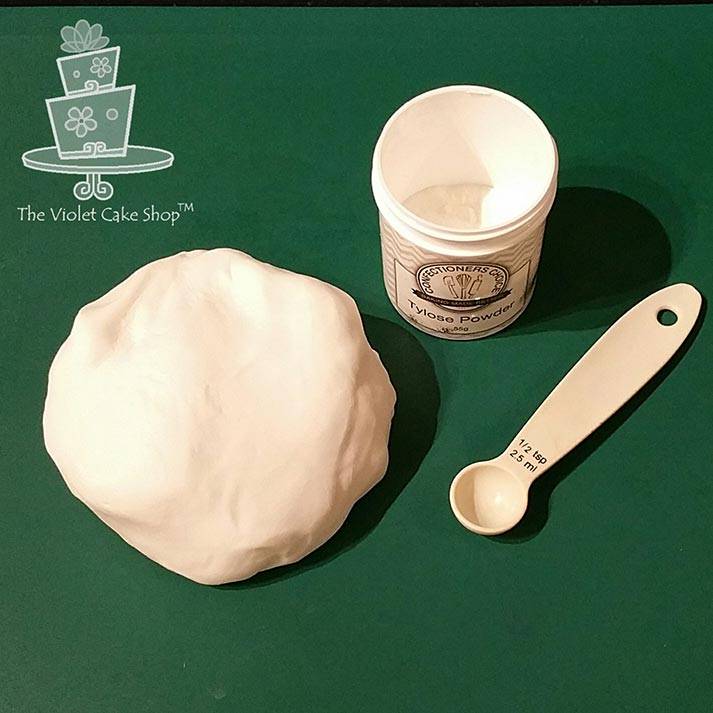
- White fondant or 50/50 fondant/gumpaste mixture
- Contrasting fondant color (Violet uses light blue)
- Tylose or CMC
- Rolling pin
- Fondant smoother
- Craft Knife
- Water or edible adhesive
- Brush
- Medium flower cutter
- Cornstarch or shortening
- Approximate decorating time: 24 hours for fondant to set up

Instructions
1. Add 3/4 tsp CMC or Tylose to one pound of fondant to create a sugarpaste that works easily with the bladed molds and will dry solid enough to create this free-standing 3D topper – you can also use straight marshmallow fondant or 50/50 gumpaste/fondant mix instead.
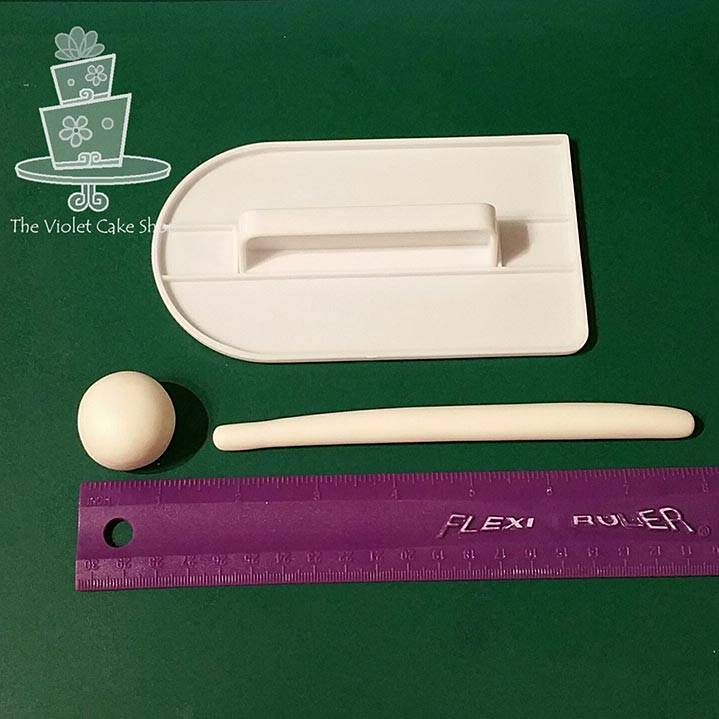
2. Take a small 1” diameter ball-sized amount of the prepared paste and roll into a log with a slightly tapered shape using your fondant smoother; set aside.
3. Roll out a small amount of paste to 1/8” thickness and place over a scroll mold that’s been dusted with cornstarch or brushed with shortening; press the paste firmly into the mold.
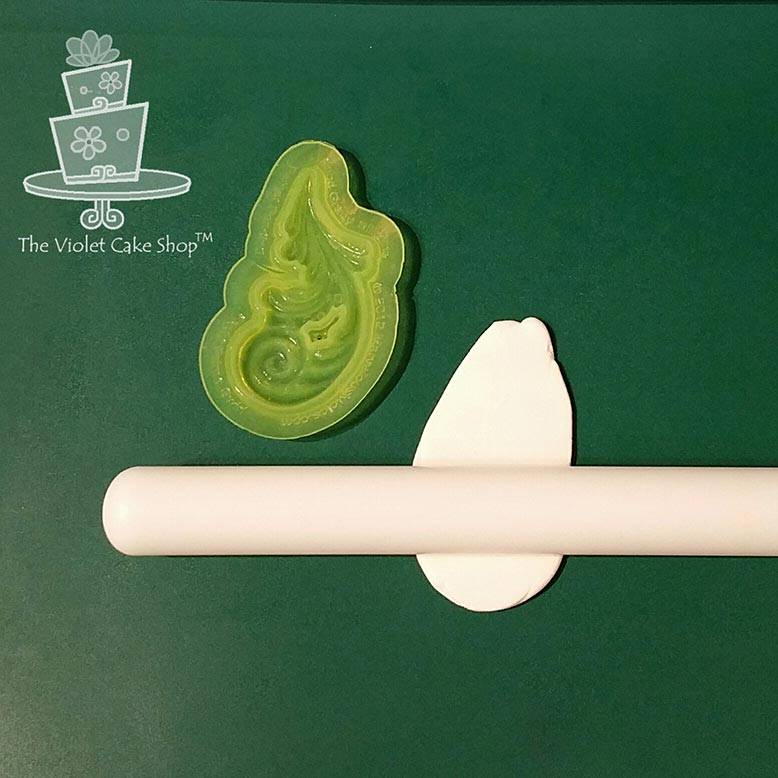
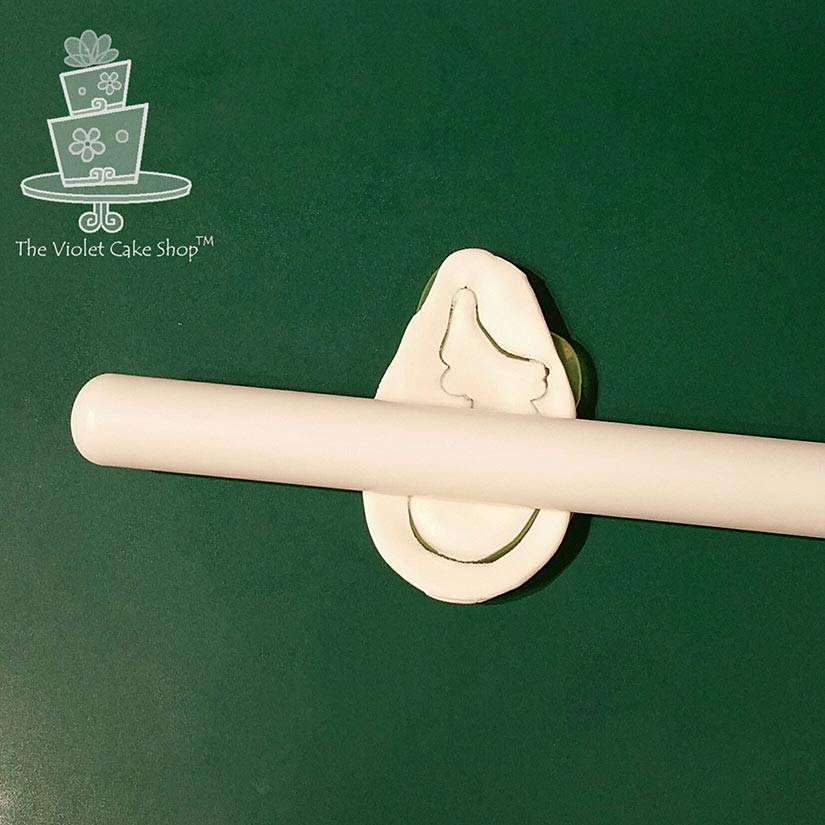
4. Use your rolling pin to encourage the bladed border of the mold to cut through the paste and remove the excess.
5. Use your thumb or fingers and press gently again into the mold in all areas to make sure the paste takes on the details of the mold.
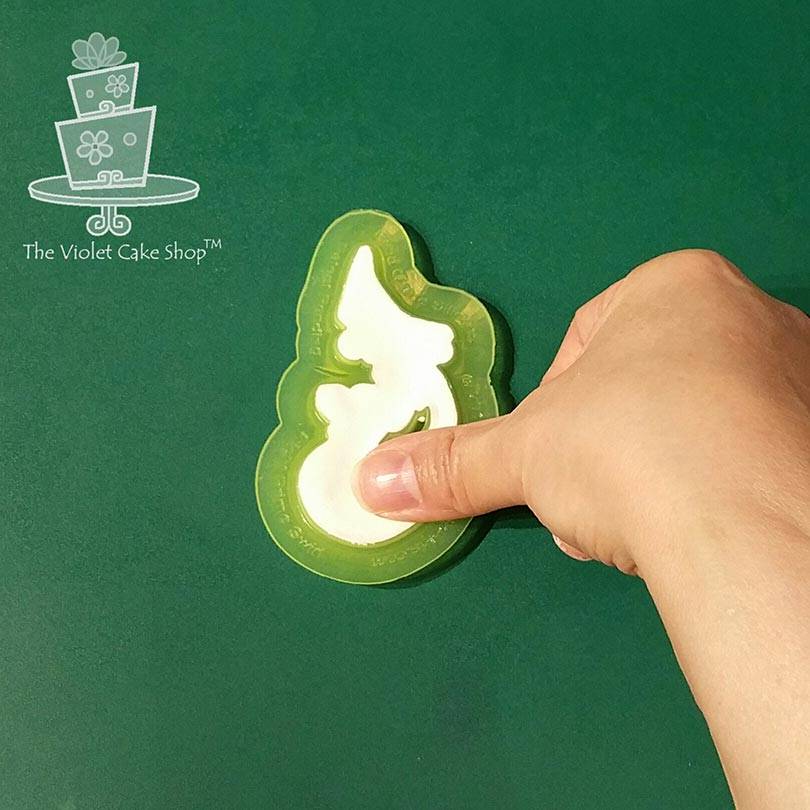
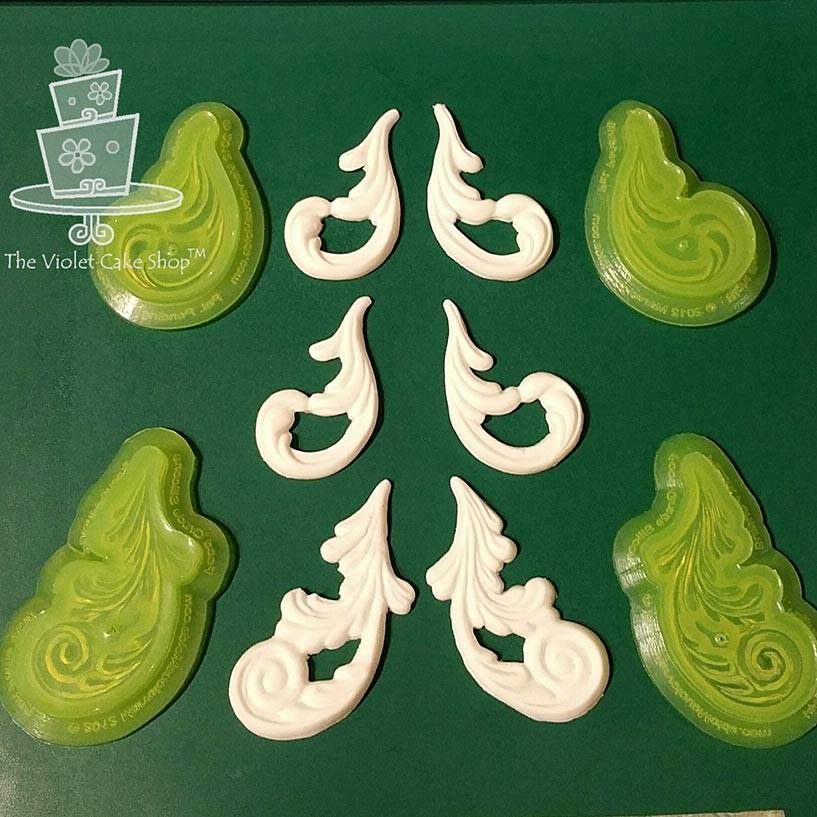
6. Make a set of scrolls using the Prime Swirl Molds and the Essential Flourish Molds as pictured; you will need to make three sets of what is pictured on day 1 and another final set (for total of 4) on day 2.
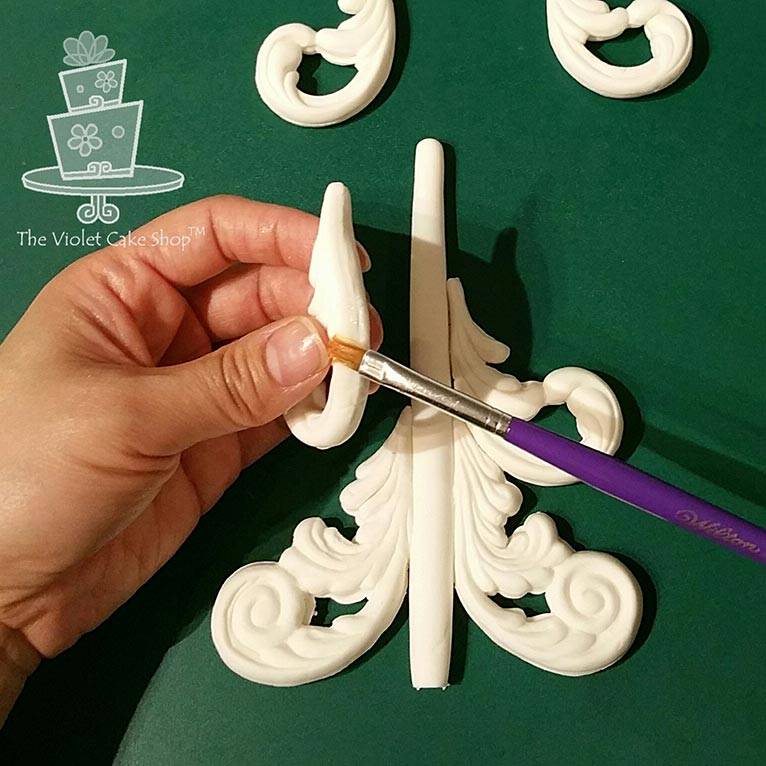
7. Apply some water or edible adhesive to the back of one of the matching scrolls.
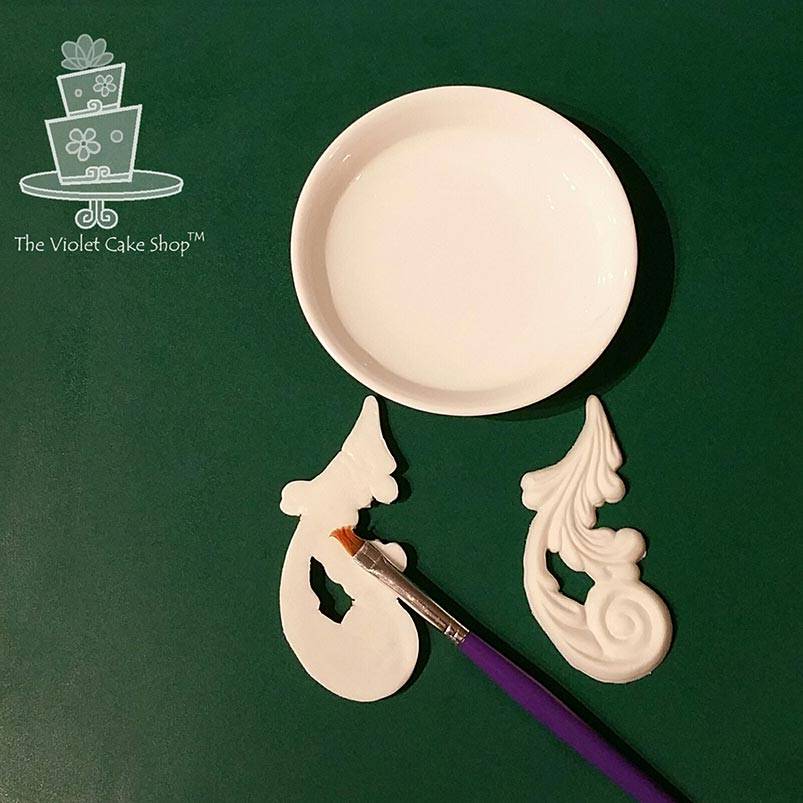

8. Glue the two opposite or mirror scrolls together – this will create one double-sided molded scroll. Do the same for all the other sets of scrolls; place them in a ziplock bag until you need them, to prevent them from drying out too fast.
9. Trim the inner flourish off the double-sided scrolls made with the Prime Swirl Molds.
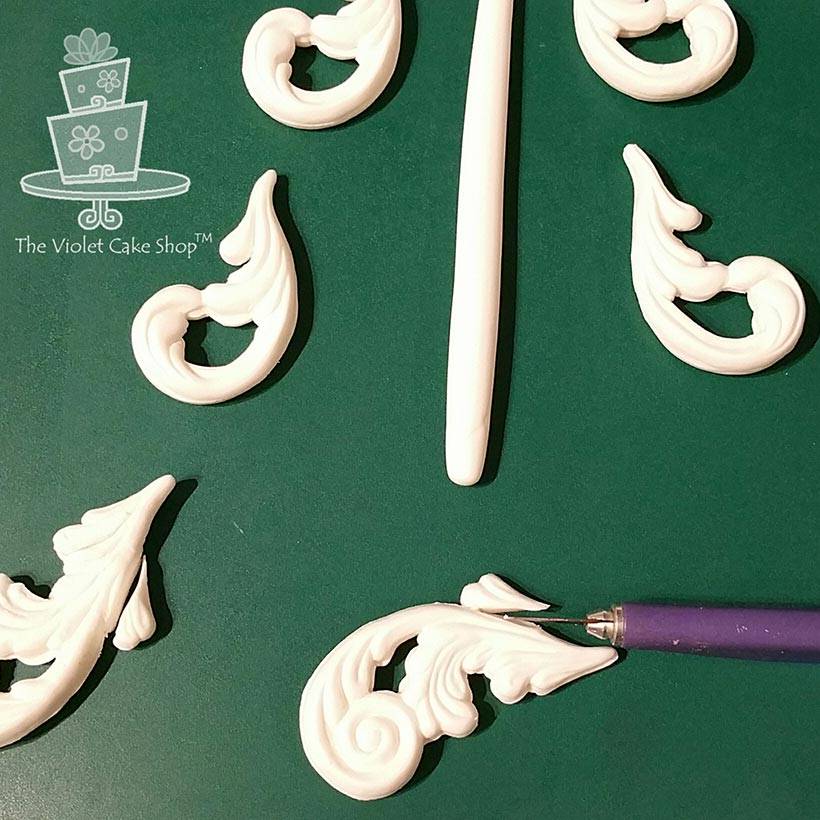
10. Using water or edible adhesive, glue one double-sided Prime Swirl scroll on either side of the log made earlier; then glue two sets of double-sided Essential Flourish scrolls on either side to create the Christmas tree shape.
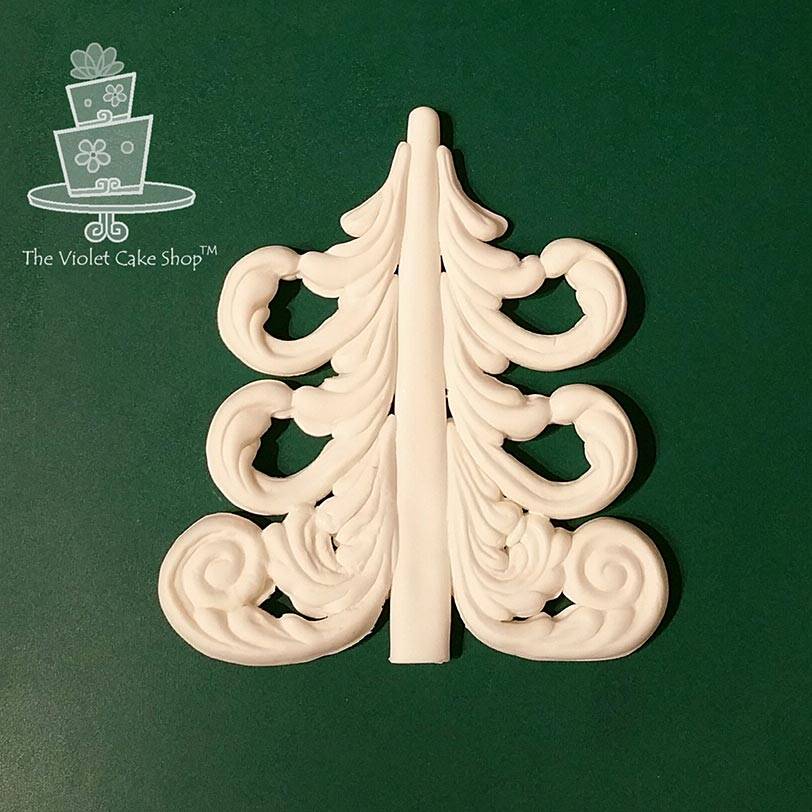
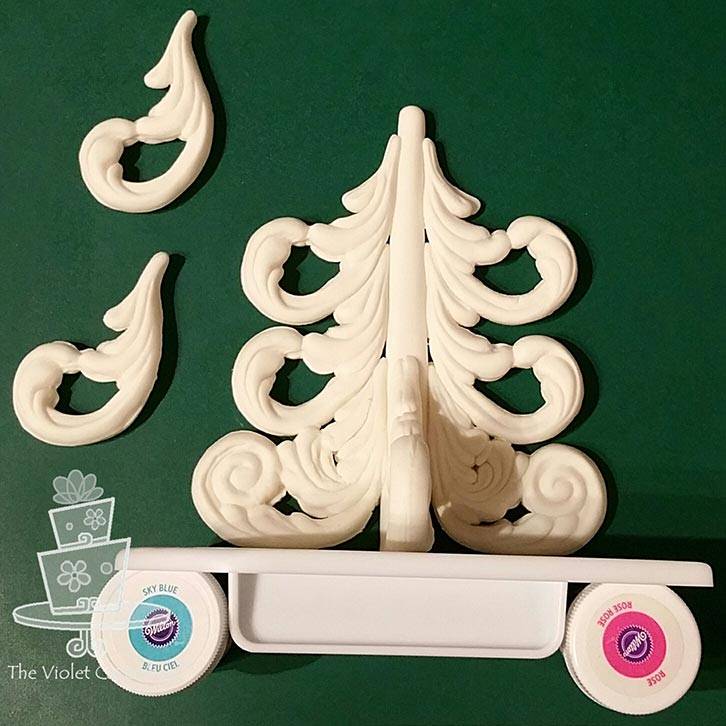
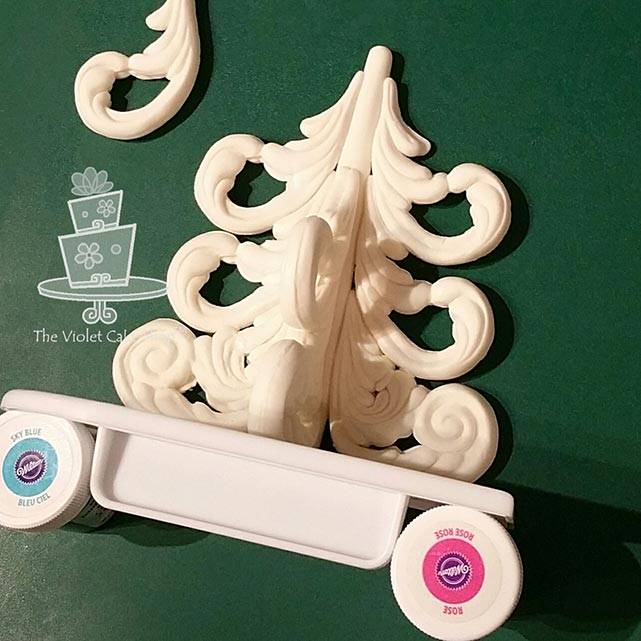
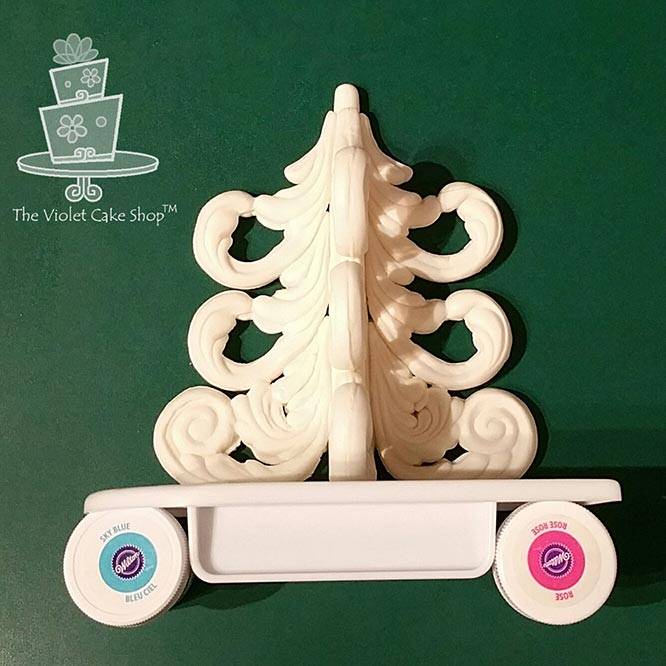
11. Add the last double-sided Prime Swirl scroll to the bottom of the ‘tree’, perpendicular to the same existing scroll. Make sure it is perfectly straight when you look at it from the top. Position your fondant smoother at the bottom of the ‘tree’ to keep all the molded scrolls level and prop it up with some gel colour vials (or anything of similar size).
12. Add the two double-sided Essential Flourish scrolls to complete the tree shape on this 3rd or top side; let the fondant dry in this position for 24 hours (or at the minimum, 12 hrs).
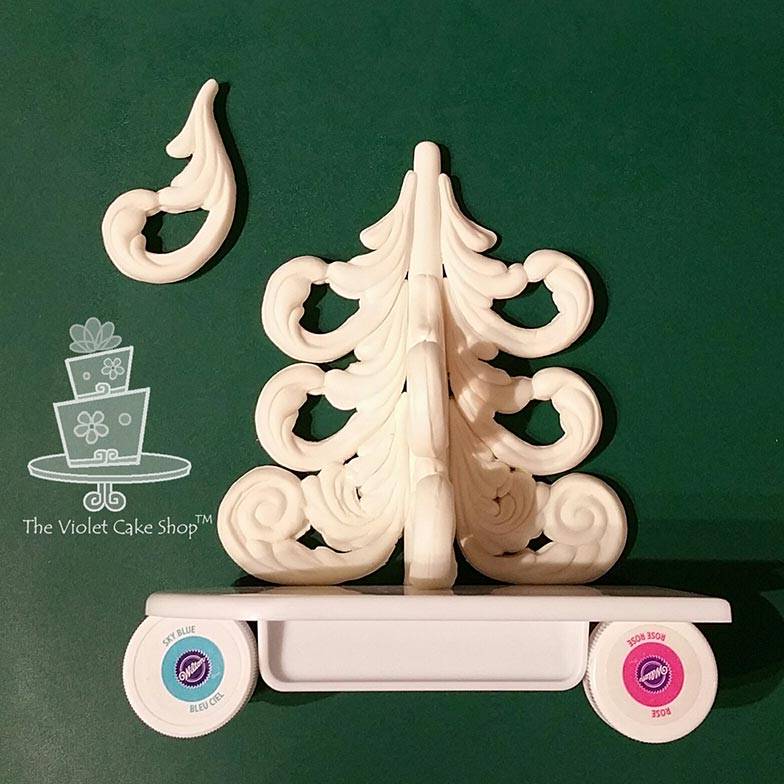
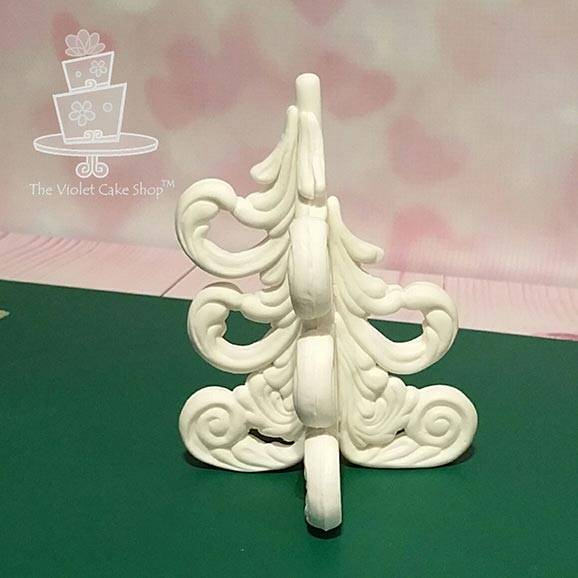
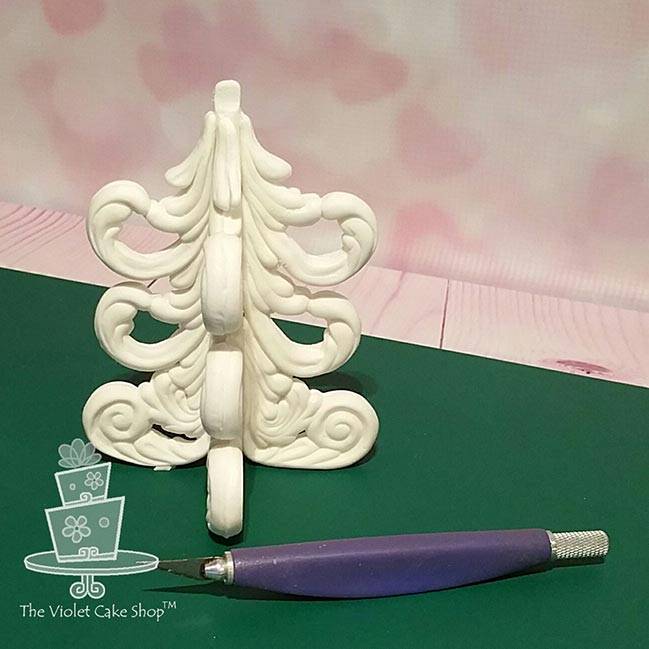
13. Once hardened and dried long enough, you can stand up your existing three-sided tree. Make the last set of double-sided scrolls and let set for 15 minutes so they have dried enough to keep their shape (important for this step, as they will be added to the sides and gravity will pull on these). Add them, starting from the bottom, to complete the four-sided Christmas tree decoration.
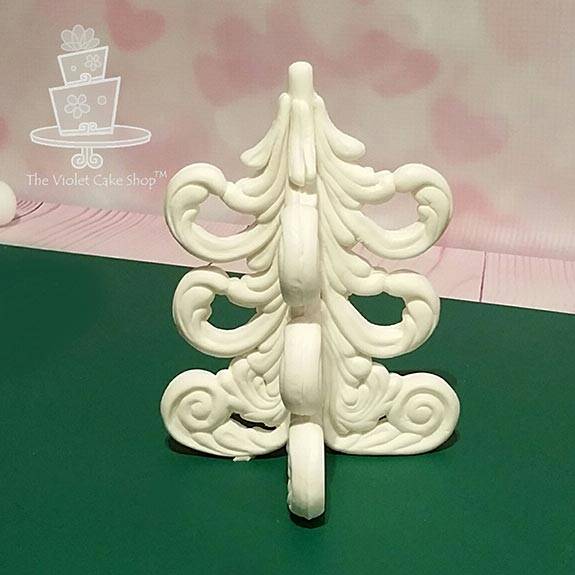
14. Using a medium flower cutter, make two cut-outs with a different coloured paste.
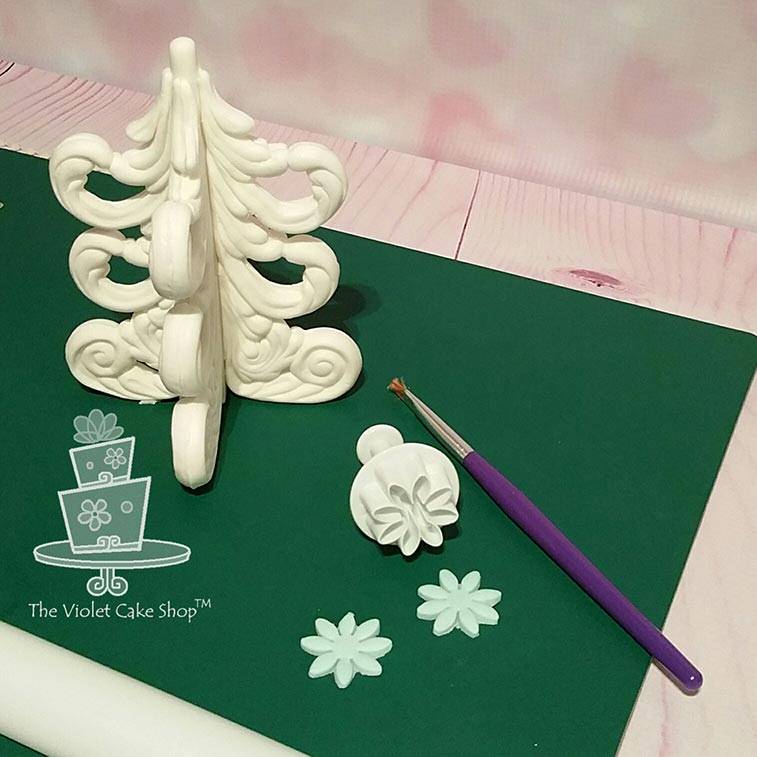
15. Trim the top portion of the log with a craft knife to flatten it.
16. Attach your flower cut-outs, one on each side so they mirror each other and cover the top portion of the log. You now have your completed Marvelous Molds Sugar Christmas Tree decoration!

Viotlet is a mother of two who worked in telecommunications as a marketing/rewards manager for nearly a decade before deciding to concentrate on starting a family. She began baking with her son as a fun activity they could do together and build memories. A year later in 2008, she decided to make her husband’s 40th birthday cake and fell in love with the decorating side of baking. She soon received steady requests from friends and family for her fun, custom creations. After the birth of her daughter, Violet decided to concentrate on personal projects and started sharing her tips and best practices on her Facebook page, blog and other social media outlets. She is well known for her innovative and clean designs and use of bold colours. Her work has been featured in numerous magazines internationally including Edible Artists Network, Cake Central and American Cake Decorating Magazines in the US, Sweet Magazine in Australia and in Cake Masters, Cake Craft Guide’s Party Cakes and Cake Craft Guide’s Wedding Cakes and Sugar Flowers Magazines in the UK. Recently, she has begun teaching her unique style in on-line classes with Pretty Witty Cakes in the UK and Craftsy in the US. She is also a proud member of the Satin Ice Artists of Excellence team. You can find out more at The Violet Cake Shop’s website or Facebook.