Holiday Place Setting Cookies Tutorial
Tutorial by Alisa Seidling from Cake Works Bakery
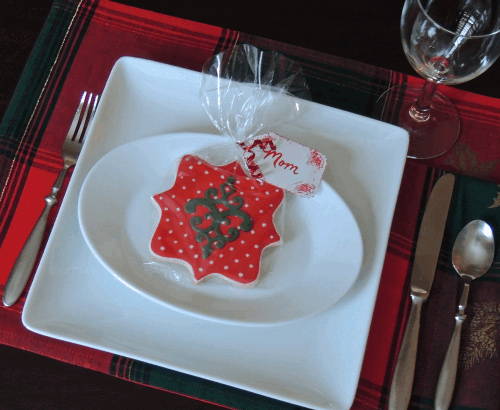
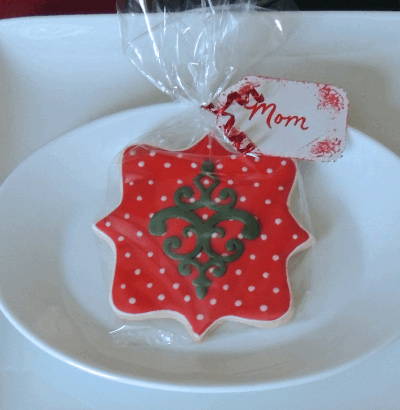
These pretty holiday place setting cookies personalize your holiday meal and beautify the dinner table. They can be eaten for dessert or taken home as a party favor.
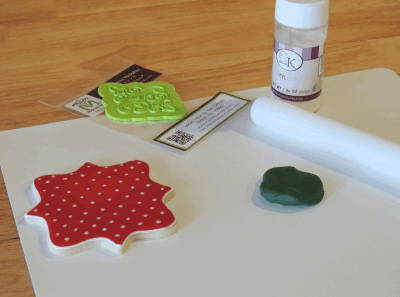
Tools and Supplies:
- Bake Sugar Cookie
- Royal Icing – thick for piping and thinned for flooding technique
- Icing bags
- Icing tips in #2 and #4
- Dark Green Fondant
- Filigree Damask Medallion Silicone Onlay®
- Fondant glue – 1 part water to 1 part corn syrup
- Small rolling pin
Instructions
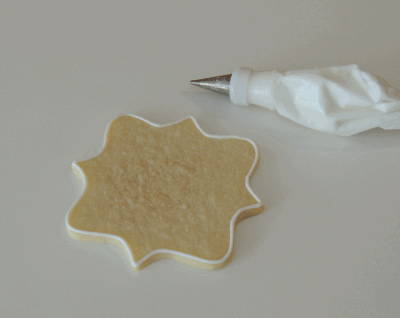
1. Outline sugar cookie shape with fairly stiff royal icing using a #2 tip – allow to dry before proceeding to step 2.
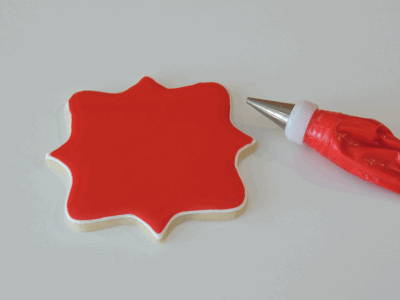
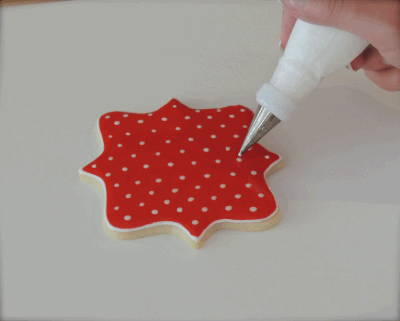
2. Royal icing flood technique – Using a thinned red royal icing, fill in the outlined cookie shape with enough icing to cover the entire cookie. A #4 tip was used for this step. Immediately proceed to step 3 while the red icing is wet.
3. Cast a bunch of Classic Pearl Drops using white gum paste. Also, cast a couple of brooches in each size using the Glimmer Brooch mold and allow these to dry. (You’ll see I cast a few extras and tried some in isomalt. Feel free to do the same and give yourself some artistic freedom.
4. Allow to dry completely – up to 24 hours depending on humidity in the room.
5. Color fondant to a dark green or other contrasting color – adding a small amount of tylose to stiffen the fondant (approximately ¼ tsp. to 2 oz fondant).
6. Roll fondant to approximately 1/16 inch thick.
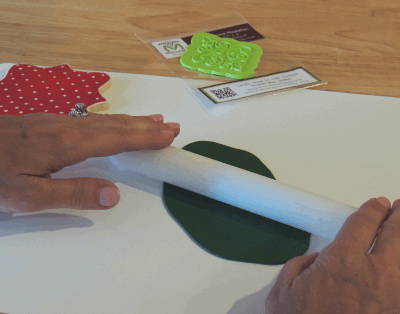
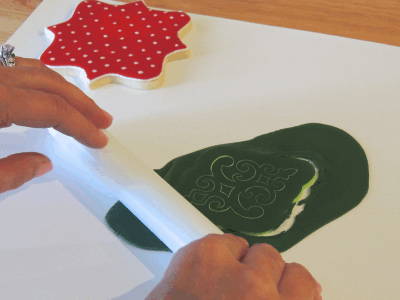
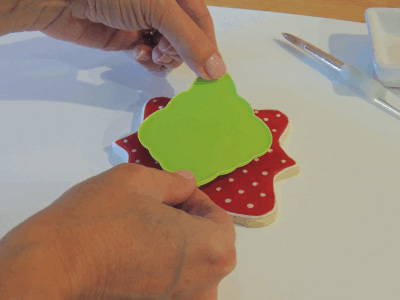
7. Place rolled fondant over Marvelous Molds® Silicone Filagree Damask Medallion Onlay® Roll over the fondant with a small rolling pin until the mold cuts through and the desired shape is clearly visible.
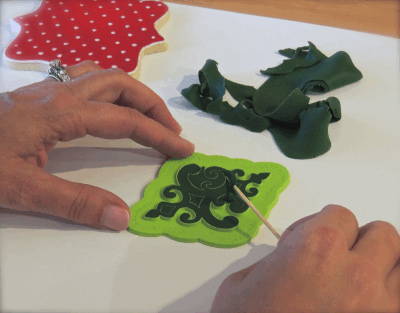
8. Remove excess fondant around shape.

9. Brush shape with fondant glue.
10. Position Filigree Damask Silicone Onlay™ to center shape on cookie and press into place.
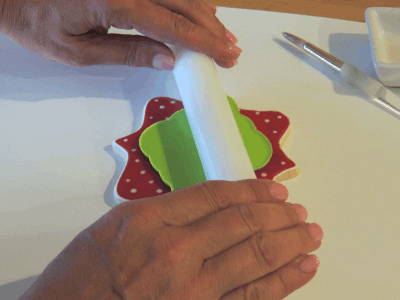
11. Roll over the back of the Silicone Onlay® with a small rolling pin to make sure all parts of the medallion shape are adhered.
12. Carefully peel back the Silicone Onlay®. A fondant tool may be needed to make sure all of the fondant shape is adhered to the cookie, and remove easily from the mold.

13. Let fondant dry slightly. The cookie will be ready to place in a cellophane bag and tied with a ribbon and nametag within about 30 minutes, or store in a covered container to keep fresh.


Alisa Seidling is a self taught cake artist. Drawing from her training and experience in many art mediums, she has been able to combine a baking hobby and her love for artistic creation into a business. She began entering sugar art competitions in 2010 and has since won several awards, including Best in Show for her division. After numerous requests to make cakes for family, friends and local events, Alisa created Cake Works in the summer of 2010.